The Art of Sequencing Real Estate Photos
In today’s digital marketplace, your listing photos are your most powerful open house. But simply snapping great pictures isn’t enough—the order in which you present them is the secret that transforms a casual click into a motivated showing.
Stop treating your photo gallery like a random collection of pretty shots. Start treating it like a guided tour that effortlessly walks a potential buyer through the experience of living in the home.
Here’s how to master the art of storytelling with your real estate photography:
1. The Critical First Three
The first three photos are the most viewed and must instantly capture a buyer’s attention and imagination.
- Photo 1: The Hero Shot. This is the exterior image that makes the best first impression—the stunning curb appeal, perhaps taken at twilight, or a wide, bright shot that clearly defines the property. This is your digital handshake.
- Photo 2: The Wow Room (The Best Interior Feature). Don’t make them scroll! Showcase the feature most likely to sell the home: a chef’s kitchen, a dramatic living room with a fireplace, or a stunning master suite.
- Photo 3: The Context Shot. Give them a sense of place. This could be a lovely backyard/patio area, a community amenity (if applicable), or a wide-angle shot showing the flow between two primary living spaces (e.g., kitchen opening into the dining room).
2. Establish the Relationship: The Digital Walkthrough
Once you have the initial hook, the rest of your gallery must mimic a logical, physical walk through the front door. This is where you establish the relationship between rooms.
- Front Door/Entryway: Show the welcoming space a buyer steps into.
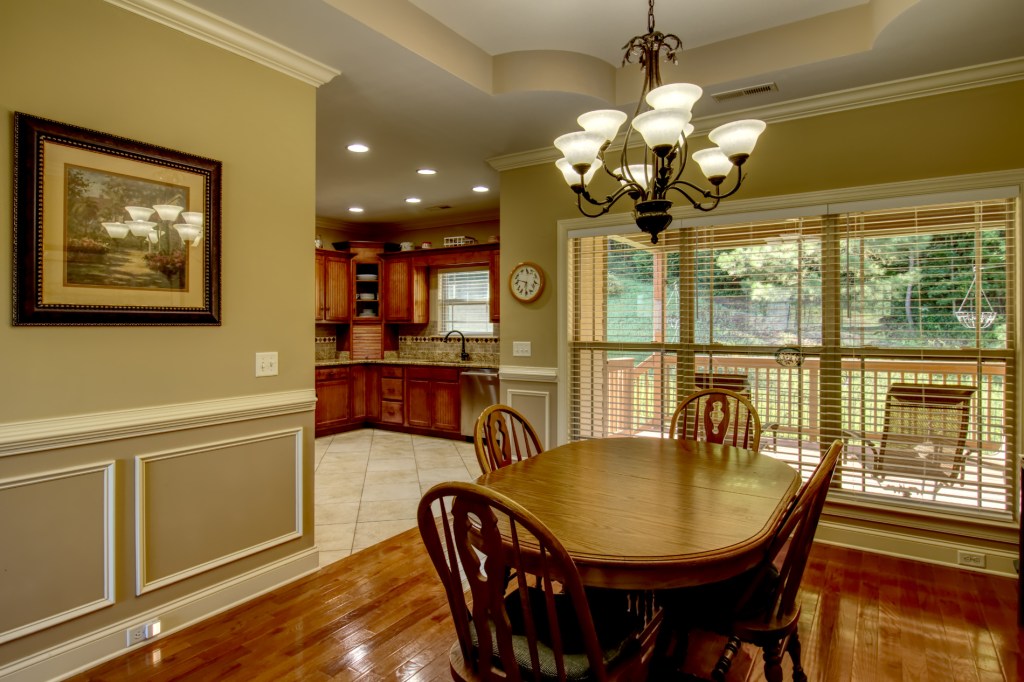
- Primary Living Area (First Floor): Living Room, followed by the Dining Room.
- The Kitchen: Dedicate several shots here, showing different angles and highlighting key features like the island, appliance quality, and pantry.
- Secondary Living Spaces: Family Room, Den, Office, or a Powder Room.
Tip: Show the Connections!
When photographing an open-concept space, stand in one room (e.g., the living room) and take a picture that shows the doorway or opening leading into the next room (e.g., the dining room). This subtle visual cue builds a mental map for the buyer.
3. Move Upstairs (or to the Private Quarters)
After the main communal areas are covered, it’s time to transition to the more private spaces.
- The Transition Shot: Include a picture of the staircase or a hallway leading to the bedrooms. This acknowledges the change in floor plan.
- Primary Suite First: Always lead with the most impressive bedroom.
- Bedroom: A wide, well-dressed shot.
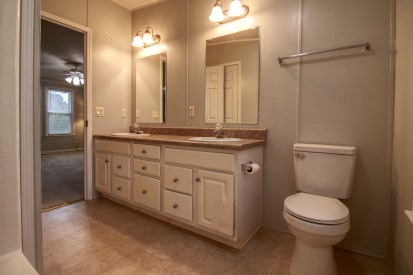
- Primary Bath: Highlight the vanity, tub, and shower.
- Walk-in Closet: If it’s a major selling point, include it!
- Secondary Bedrooms and Baths: Follow a similar pattern, showcasing each space clearly.
4. Finishing Touches: Highlights and The Wrap-Up
Use the remaining slots to highlight key features that couldn’t be shown in the main flow.
- Utility/Bonus Spaces: Laundry room, garage, basement, or mudroom. These are practical shots that answer important logistical questions for the buyer.
- Exterior Features & Amenities: The backyard, deck, porch, pool, or shed. Don’t forget community views or clubhouses if they add value!
- The Feature Shot: Use close-ups of specific, high-end details:
- A beautiful tile backsplash.
- High-end hardware or lighting fixtures.
- Built-in shelving or window seats.
The Golden Rule: Never jump randomly. Don’t show the backyard after the kitchen, then jump to a secondary bedroom, and then back to the dining room. Maintain the flow as if you were walking the client through the home in person.
By sequencing your photos logically, you minimize confusion, maximize engagement, and help potential buyers mentally move into the property, leading directly to that all-important showing request.